Create a personal website
Requirement
- a GitHub account
- an account on Cloudflare
- optional
- an education account: How to create an education
Create a domain name on CloudFlare
- Buy a domain name.
Note: If you need a
com,net,orgordevgo to cloudflare, if you need afrgo to infomaniak
Register your newly created domain to your github account:
- on GitHub
- click on your profile icon (top right)

- click on settings*
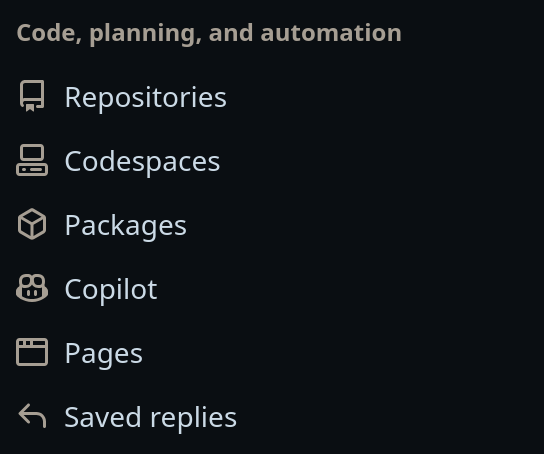
- go to pages in Code, planning, and automation

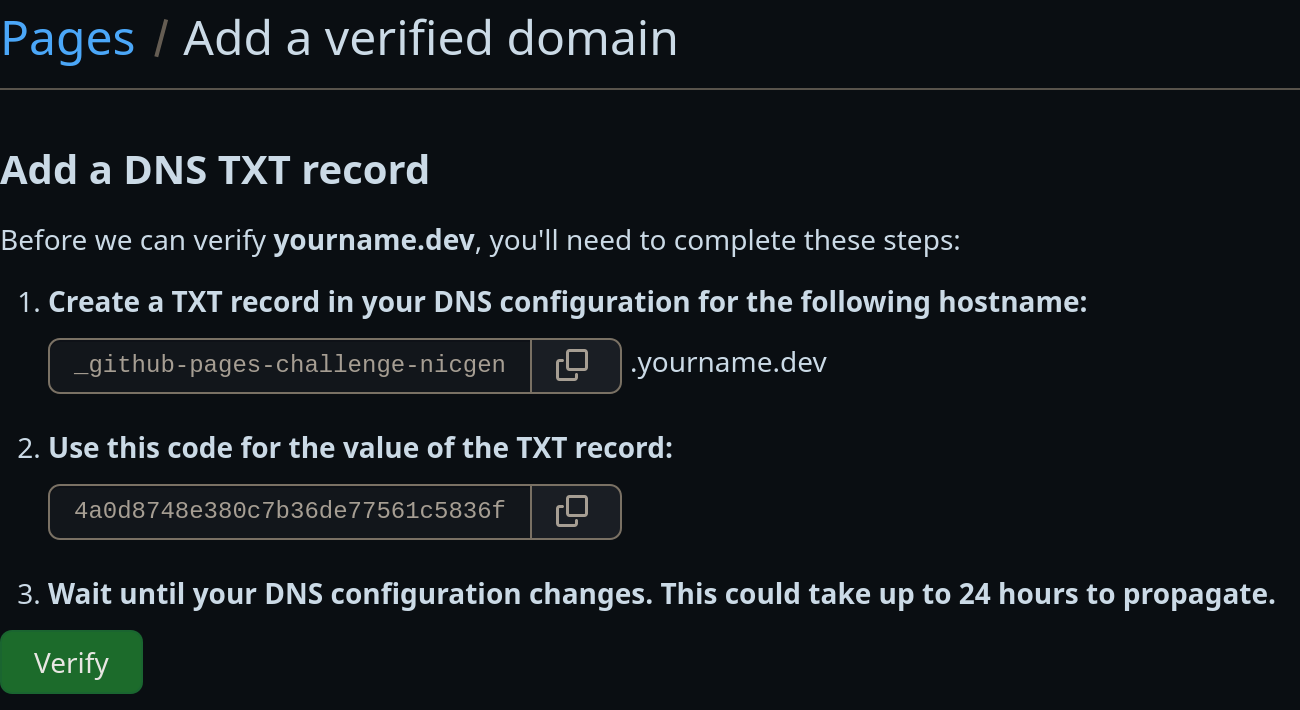
- enter your domain name
- copy the TXT record

- click on your profile icon (top right)
- on Cloudlfare
- go to your dashboard / Websites
- Click on
Add domain - select your domain name
- select DNS / DNS Records (right)
- in DNS management click the blue button + Add record

- enter the name and the content as asked by GitHub
- click save
- in the same we are going to enter the server from github (we are going to need them later)
-
Do the same for each elements:
- Type A and Type AAAA:
Name:@, IPv4 address(required):185.199.108.153
Name:@, IPv4 address(required):185.199.109.153
Name:@, IPv4 address(required):185.199.110.153
Name:@, IPv4 address(required):185.199.111.153
Name:@, IPv6 address(required):2606:50c0:8000::153
Name:@, IPv6 address(required):2606:50c0:8001::153
Name:@, IPv6 address(required):2606:50c0:8002::153
Name:@, IPv6 address(required):2606:50c0:8003::153
- wait a few hours (it's sometimes shorter)
- go back to GitHub
- create a new repository (usually choose your domain name, ex:
domain.tld) - you have to create at least an index.html file containing basic code:
- create a new repository (usually choose your domain name, ex:
index.html
<!DOCTYPE html>
<html>
<head>
  <title>Page Title</title>
</head>
<body>
  <!-- Page content goes here -->
</body>
</html>
- on GitHub
- check if github accept the domain
- on Cloudlfare
- go to your dashboard / Websites
- select your domain name
- select DNS / DNS Records (right)
- wait a few hours (it's sometimes shorter)
- you can go to https://dnschecker.org/
- Go to your dash/interface CloudFlare